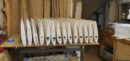
Former templates ro jigs are used to make the fuselage formers. They are necessary to securely hold the formers while the center waste area is removed at the router table.
Introduction:
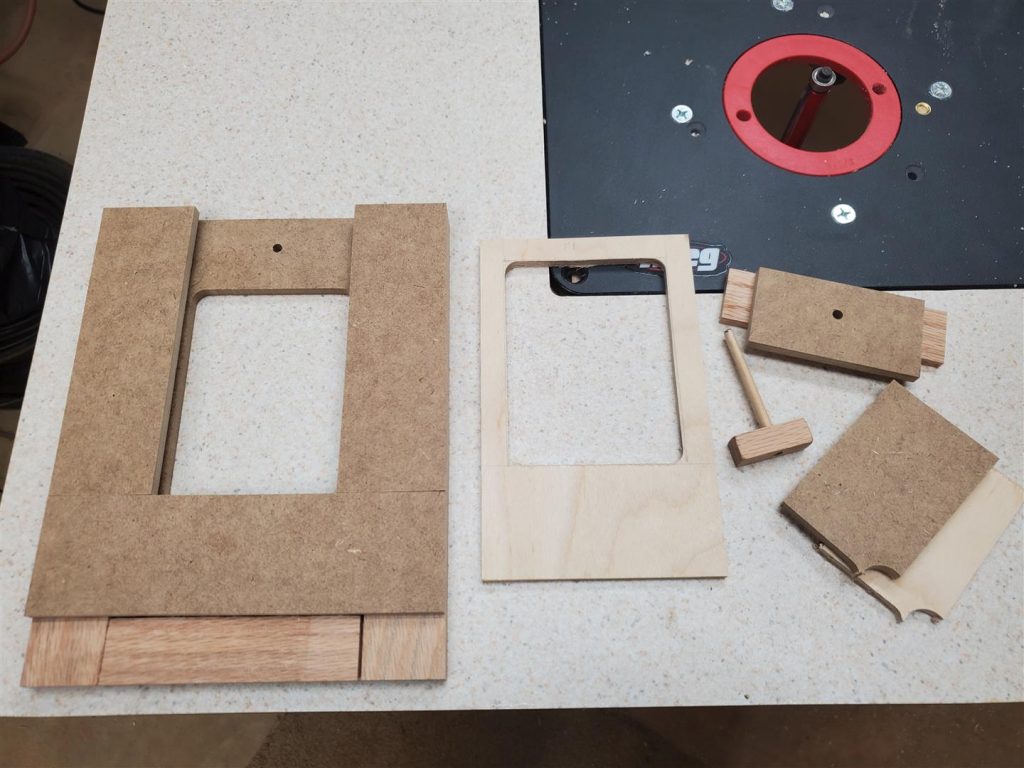
Former templates ro jigs are used to make the fuselage formers. They are necessary to securely hold the formers while the center waste area is removed at the router table.
Making the jig parts:
Cut a former blank from a piece of 1/8 litePly. The blank needs to slip firmly into the correct position in the fuselage. It is imperative that the blank fits perfectly square and firmly into the fuselage. Starting just a bit oversized allows the former blank to be trimmed slowly for a tight fit. Do not forget to allow for the formers to be 1/4″ shorter than the sides to allow the top and bottom to fit perfectly into the sides.
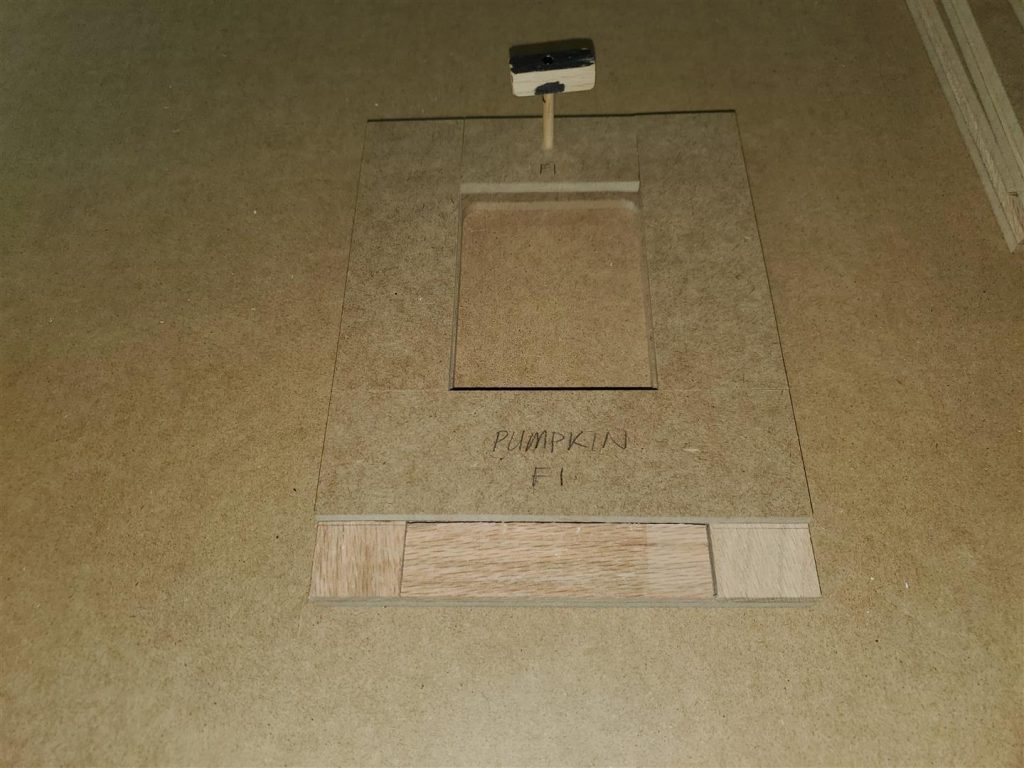
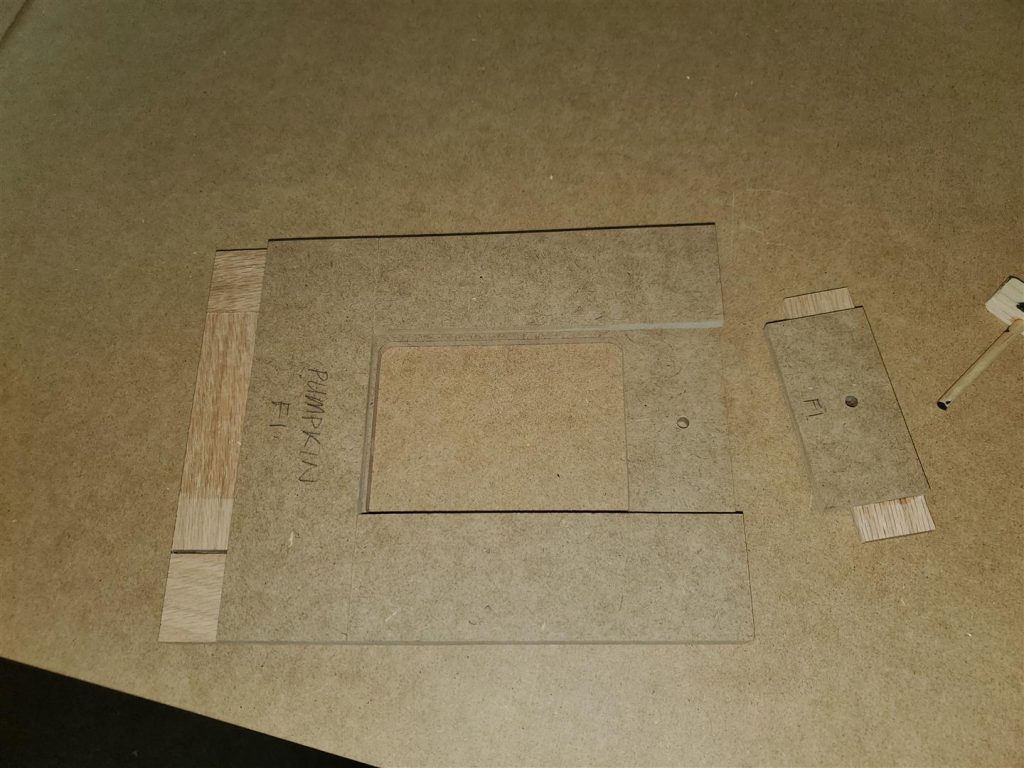
Next, a piece of 1/4″ MDF (or scrap 1/4″ plywood) is cut to be about 2″ larger all around than the former to be made.
Center the former blank on the 1/4″ back plate. Strips of oak or other wood are used as spacers or shims to hold the blank in position and allow the part to slip in and out. Cut the spacers just thicker than the Liteply former blank. The spacers should be about 1″ wide.
Glue a spacer strip along the bottom edge of the backplate but touching the bottom edge of the plywood former. Side strips of oak are then glued onto the MDF along the sides of the plywood former. Be sure the part will slide in and out but fit snuggly before gluing the second side on. The side oak strips are also long enough to extend all the way across the top edge of the MDF. Leave the top oak piece off for the time being. It is going to become a removable door. Do not worry about how much the outside edges of the template are not aligned. The whole template will be squared up at the end.
The router flush trim bit bearing will ride along guide strips of 1/4″ MDF. These strips are cut about 2″ wide and glued onto the oak strips leaving the area to be removed open. They set the size lightening hole to be made into the fuselage formers.
The bottom and side 2″ wide MDF guides are glued on first. Again the side pieces of MDF are long enough to extend all the way across the top edge of the oak strips. They must be placed carefully to size the lightening hole to be routed.
3
Now a piece of the oak strip is sanded lightly to make it just thinner than the oak strips along the sides. It will become part of the door. Carefully cut it to fit snuggly between the two side oak strips. Test fit it to make sure it will slide in and out but remain square when inserted. Now cut a piece of 2″ wide MDF to fit between the two side pieces of MDF. Again cut this piece to fit snugly and squarely. With the top oak piece inserted to firmly touch the plywood former, glue the top piece of MDF onto the top oak strip. DO NOT get glue onto the edges or it will not be removable. Be sure it is positioned to allow it to guide the router bit bearing. Drill a dowel pin hole into the top piece all the way through the three layers. The dowel will be used to secure the part inside for routing.
Using the Template
Former Template Use:
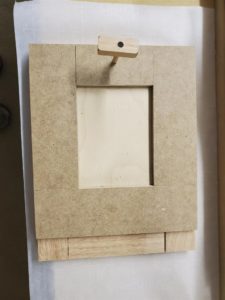
Insert the plywood former into the appropriate template and lock it in place with the locking pin. Drill a hole for the router bit. Drill the hole a bit larger than the router bit so that the router bit fits easily through the hole.
Service 3
CaUTION: The templates are small and require a firm hand to use. Be very careful and hold them tightly to avoid injury or damage to the template.
Adjust the router bit bearing to ride firmly on the 1/4″ bearing guide strips. Ride high enough so that the bit cutters reach all the way through the Liteply blank.
Change me
change this
Introduction:
Former templates ro jigs are used to make the fuselage formers. They are necessary to securely hold the formers while the center waste area is removed at the router table.
Service 3
CaUTION: The templates are small and require a firm hand to use. Be very careful and hold them tightly to avoid injury or damage to the template.
Adjust the router bit bearing to ride firmly on the 1/4″ bearing guide strips. Ride high enough so that the bit cutters reach all the way through the Liteply blank.